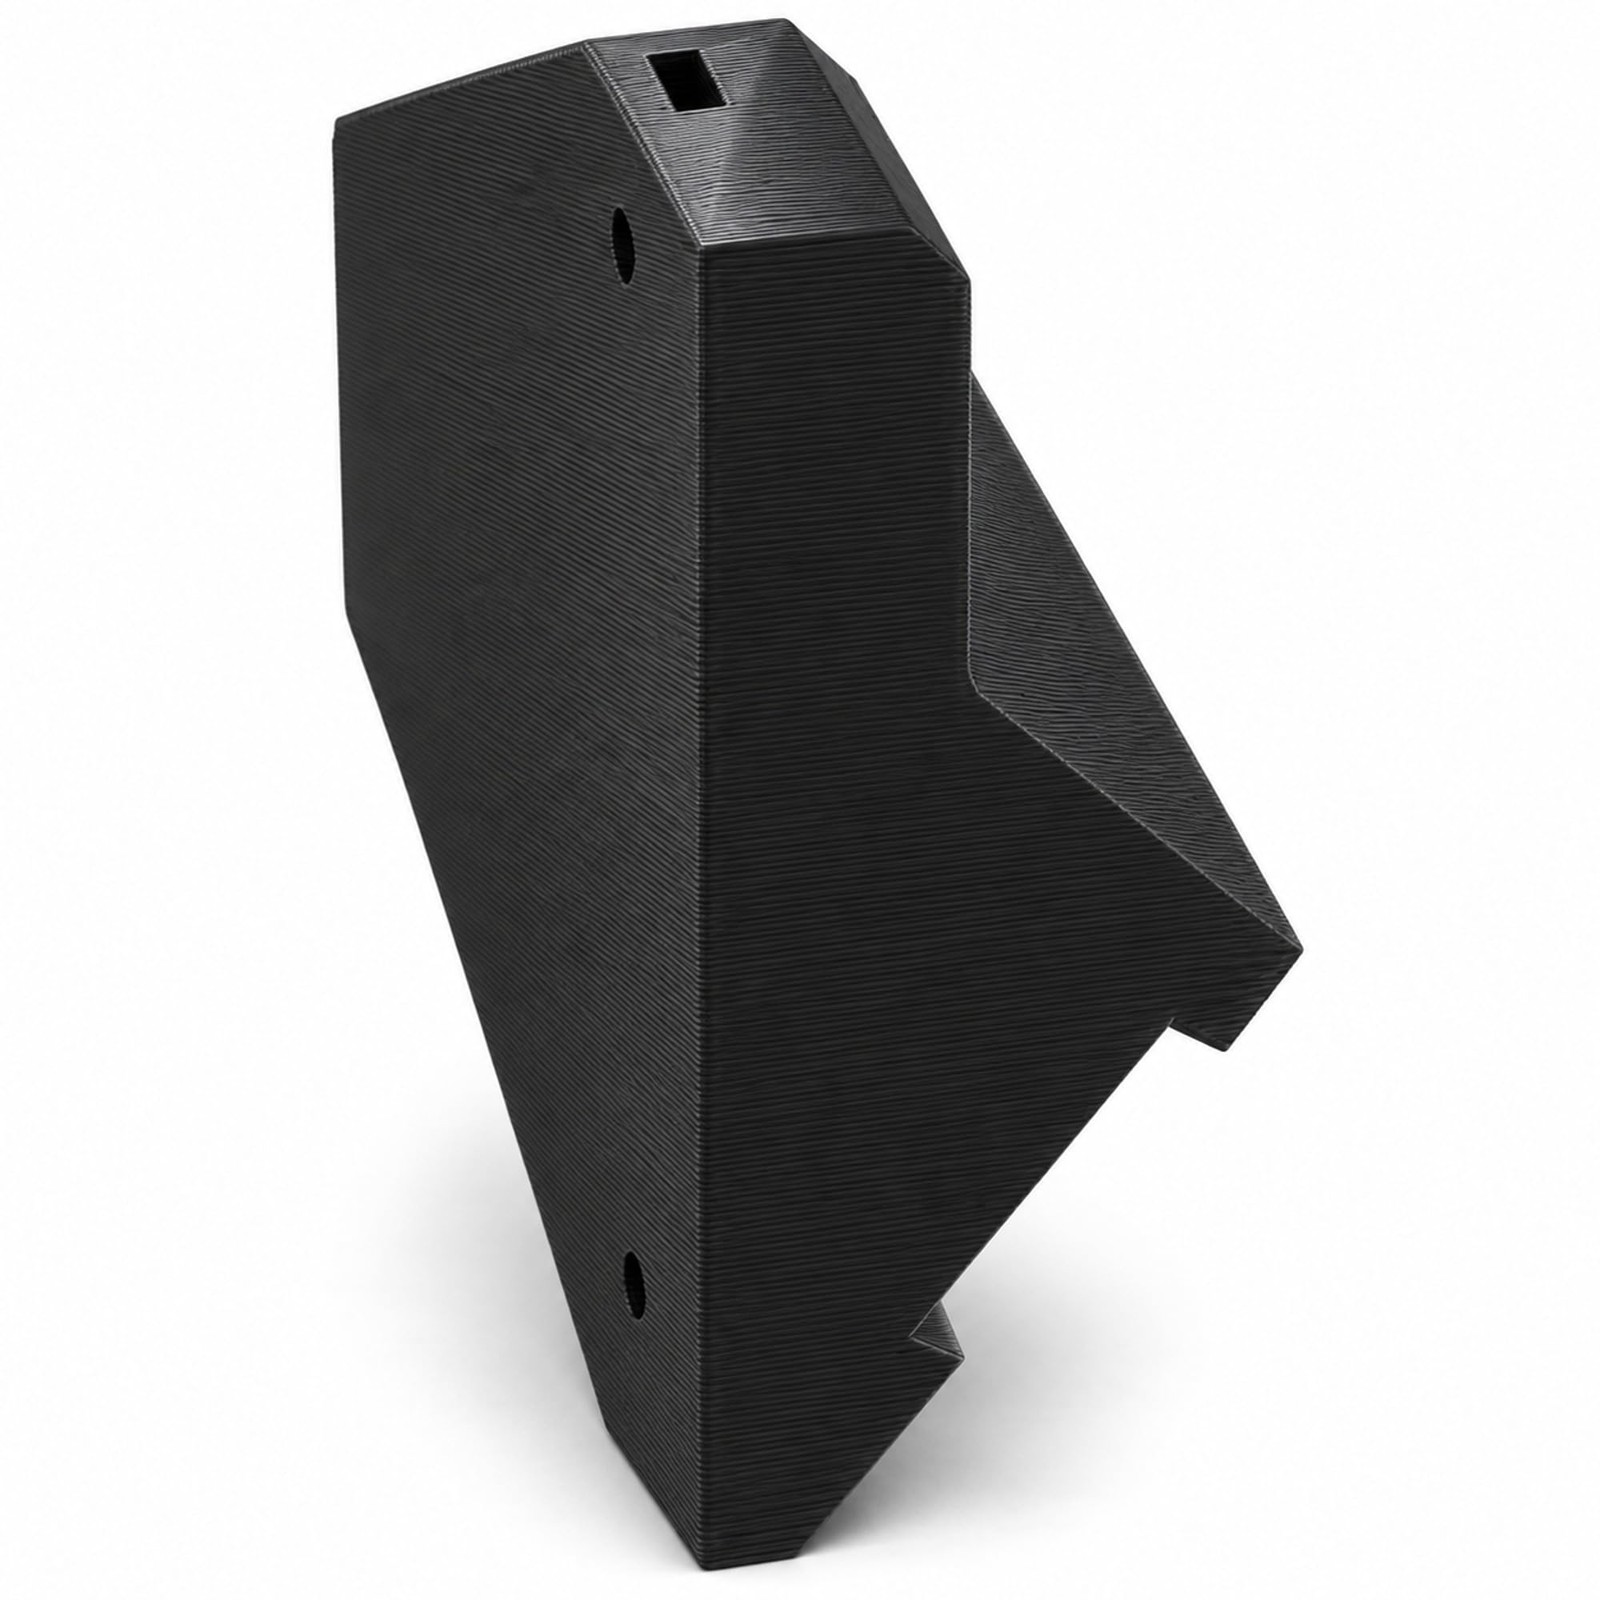
Camera Mount Compatible with Raspberry Pi Camera V2
- SUPPORTED PRINT VIEW — Keep your camera on your 3D printer enclosure instead of leaving it loose or balancing it on an improvised support beside your printer. This mount holds your camera in position for a useful viewing angle on your printing activity, giving you an enclosure-mounted viewpoint for monitoring or recording in your home workspace, workshop or print room.
- KEEP LIGHT UNBLOCKED — Position your camera without blocking light from your LED add-on, so the lighting already fitted to your 3D printer enclosure continues to illuminate your printing activity. You do not have to choose between mounting your camera and using your enclosure lighting; keep both working together when you look inside your enclosure or check the view through your camera.
- KEEP YOUR ADD-ONS — Add a camera mounting position without giving up the official accessories you use with your 3D printer enclosure. The mount supports all of your enclosure\'s official add-ons, so your camera becomes part of your existing setup rather than a reason to rethink your accessory choices, whether you are building out a new print station or adding a camera to an established workshop.
- SLIDE-IN CAMERA FIT — Give your camera a dedicated mounting position with a slide-in fit and screw fastening for viewing activity inside your 3D printer enclosure. Insert the nuts into the mount and push them into position through the slots with an Allen wrench, connect your camera cable, then slide your camera into the mount and secure it with one M3x8 screw before attaching the mount to your enclosure.
- ENCLOSURE MOUNTED VIEW — Put your camera on your 3D printer enclosure by removing the existing nylon rivet at the mounting location, aligning the mount\'s holes with the enclosure holes and fastening the mount with two M3x8 screws. Installation needs two M3nS nuts and three M3x8 screws in total, not included; have these fasteners ready before you start fitting your camera and mount. WHAT\'S IN THE BOX — Only the item named in the title. No hardware is included (see the description).
Give your camera a place on your 3D printer enclosure, not another improvised perch beside it. This camera mount holds your camera in position for a useful view of your printing activity, attaching it to the enclosure instead of leaving it loose. Whether your printer is in a home workspace, workshop or print room, your camera gets a supported mounting position for monitoring, photography or video as your projects take shape.
Your camera does not have to compete with the rest of your enclosure setup. The mount does not block light from your LED add-on, so you retain that illumination while using your camera. It also supports all of your enclosure\'s official add-ons. Keep the accessories you use for your printing setup and add a camera viewpoint without choosing between the camera mount and the official add-ons already in place.
Prepare the mount by inserting two M3nS nuts, then use an Allen wrench through the slots to push the nuts into position. Connect your camera cable before seating your camera. Slide the camera into the mount and secure it with one M3x8 screw, fastening your camera to its support before the mount goes onto your enclosure.
Next, remove the existing nylon rivet at the enclosure mounting location. Align the mount\'s holes with the holes on your enclosure, then fasten the mount with two M3x8 screws.
HARDWARE NOT INCLUDED: Only the item named in the title is in the box. Every setup is different: depending on yours, mounting it or attaching it to an existing part may use hardware you already have, such as the original screws, or you may need to buy your own screws, bolts, tape or adhesive to suit your situation. No hardware of any kind is included with this listing.
Hardware needed (not included): M3nS nuts (2x), M3x8 screws (3x). Screws, bolts, nuts, anchors, adhesive, adapters, cables and any other hardware are also not included, so buy what you need separately.
When you click on links to various merchants on this site and make a purchase, this can result in this site earning a commission. Affiliate programs and affiliations include, but are not limited to, the eBay Partner Network.

 Camera Mount – Compatible with Ring Spotlight Cam Pro Wired, Pro and Plus, Black$16.99
 Rear Camera Mount Compatible with Toyota 4Runner, Black$24.98
 3 Pack Camera Mount Compatible with AutoDarts Corona Vision, Black$82.99
 2PCS PTZ Camera Bracket Universal PTZ Camera Mount Bracket Compatible$58.99
 Camera Mount Compatible with Ring Spotlight Cam Pro, Black$20.99
 Camera Corner Mount Compatible with Reolink TrackMix Wifi, Black$88.99
 Anti-Theft Doorbell Camera Mount Compatible with Ring Battery Doorbell 2Nd Gen ($13.95
 Rear Camera Mount Compatible with Wolfbox G900Pro, Black$15.99
 www.userbars.org